
The last two posts about the Carrier Board and Carrier Card showed how the whole kaboodle was designed for a specific light-gray plastic ABS box:
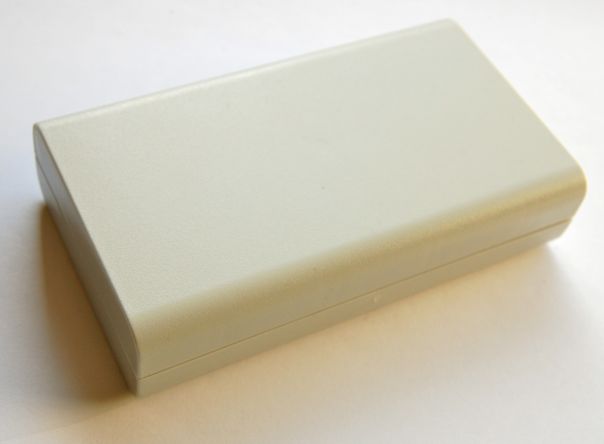
If you just use batteries and wireless, then that’s the end of the story.
But most of the time, this needs some cutouts. Let me describe how I created a custom version with a standard low-voltage power jack and an RJ-45 connector, using just these tools:
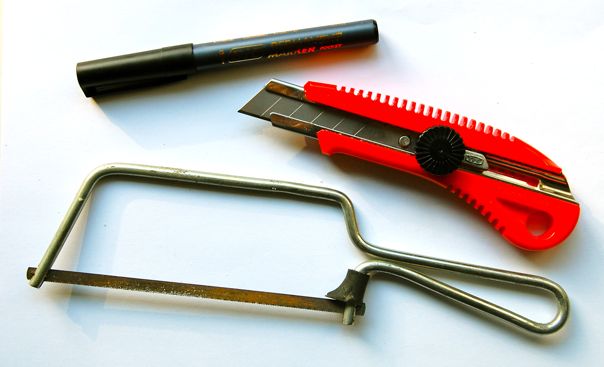
First step is to very carefully mark the position and saw some thin slots in this thing. ABS plastic is very soft and easy to cut with a little saw like the one above:
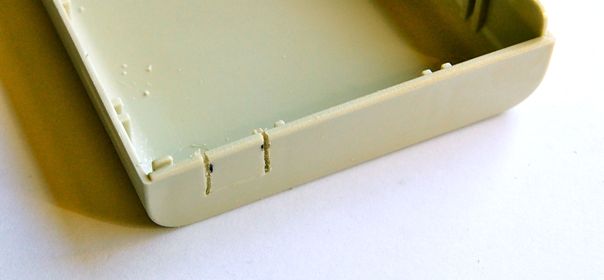
I tend to make the cutouts too narrow, because there is no way back!
To get a clean break, I use the knife to scratch along the line where the plastic needs to break, and then bend it (oops, you’ll also need some small pliers for that):
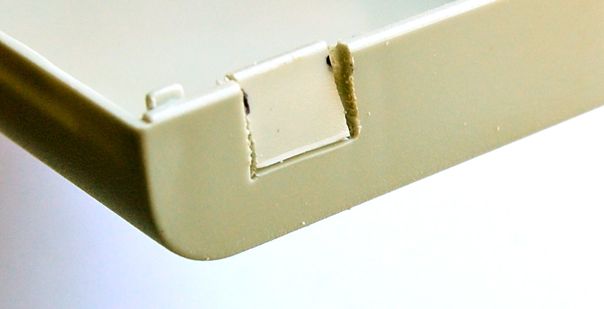
This coutout was in the top half, for the DC jack. After some trimming with the knife, the cutout looks pretty accurate. Next one was the RJ-45 connector:
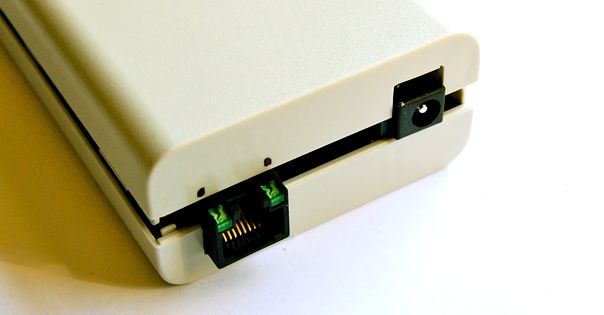
Same idea: mark, saw, scratch, and break off:
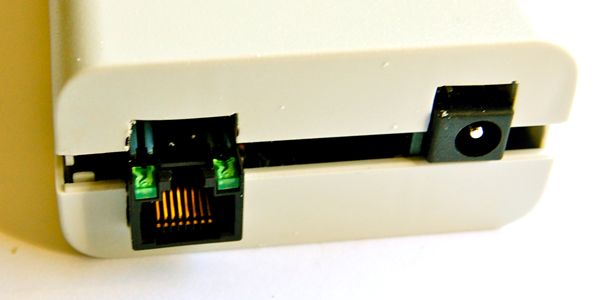
Almost there. Still a bit too narrow, and not quite deep enough – some more trimming produced this:
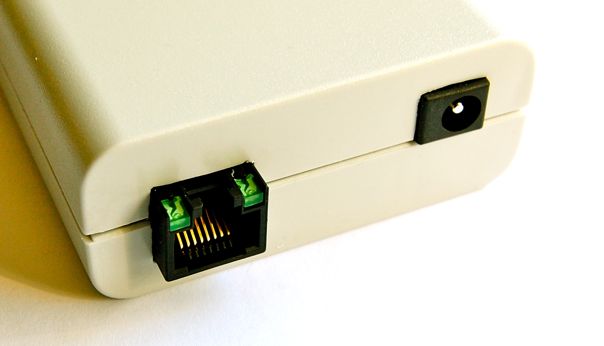
Ah, that’s just about perfect (the left side could still be made a tad deeper):
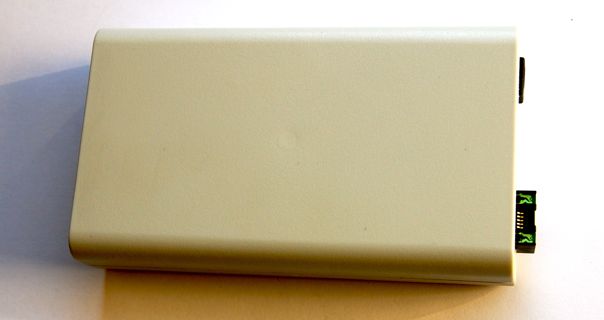
Finished!
Very nice carrier board, card and box… Sorry, but I just have to say it…
It’s all coming together nicely :-)
One tool I would add to the other three is a fine tooth file just to square up and finish those edges.